一 数据准备
首先,我们有如下数据结构如下:
- data
- annotations:标注文件
- txt:txt文本标注文件
- xmls:xml格式标注文件
- images:图像文件
- config: 配置文件目录,下面有个当前数据集的
.config配置文件。 - tf_records:需要创建的一个目录,用于存储tensorflow将images转换为tf_records。
- xx_label_map.pbtxt:分类名称对应的整型分类
- annotations:标注文件
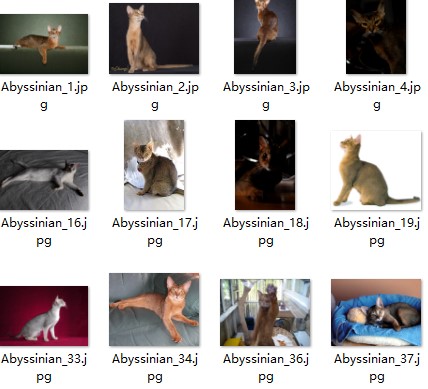
1.1 images文件
images目录下的文件为:
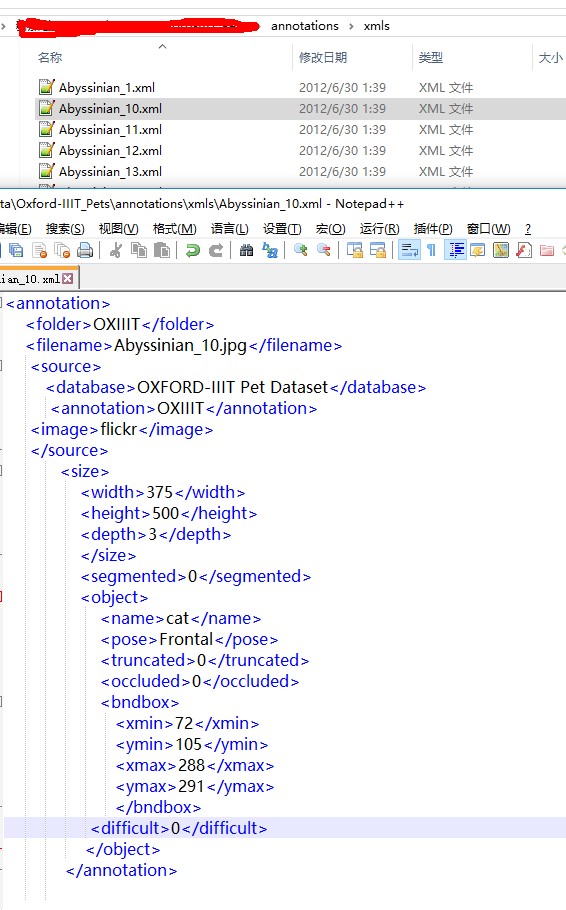
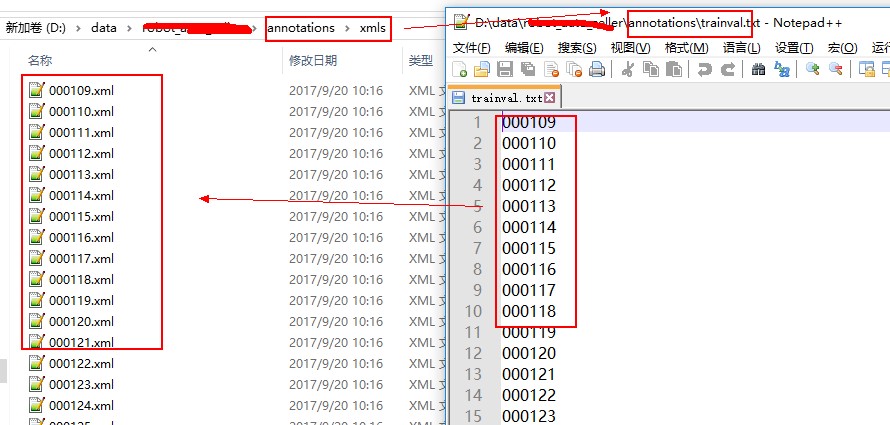
1.2 标注文件
xml标注文件类似:
txt标注文件可以不需要。
1.3 label_map.pbtxt文件
xx_label_map.pbtxt文件中的内容如下:
1 | item { |
1.4 创建tf_record文件
先创建一个create_xx_tf_record.py文件,单独用来处理训练数据。可以直接从object_detection工程下的create_pacal_tf_record.py(如果是每个图片只有一个分类,可以使用create_pet_tf_record.py)复制而来。
修改起始参数配置:
- data_dir: 数据目录,包含了图片和标注的目录
- output_dir:输出目录,图片转换为tf_record之后存储的位置
- label_map_path:上面提到的xx_label_map.pbtxt
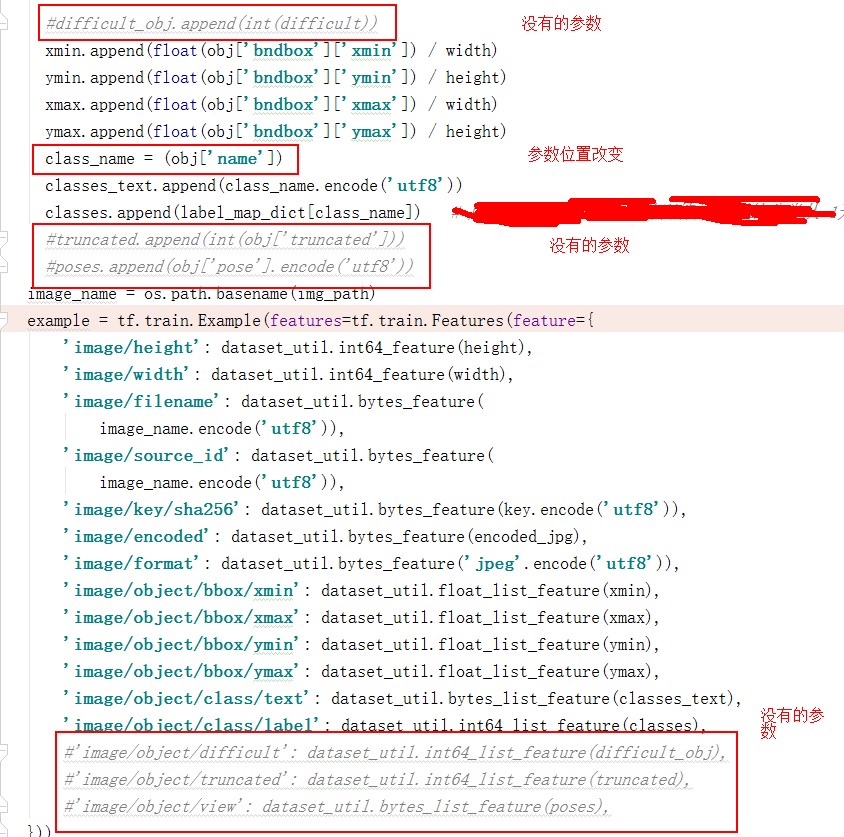
修改dict_to_tf_example
参考你的标准xml文件,有些地方需要修改。
修改main
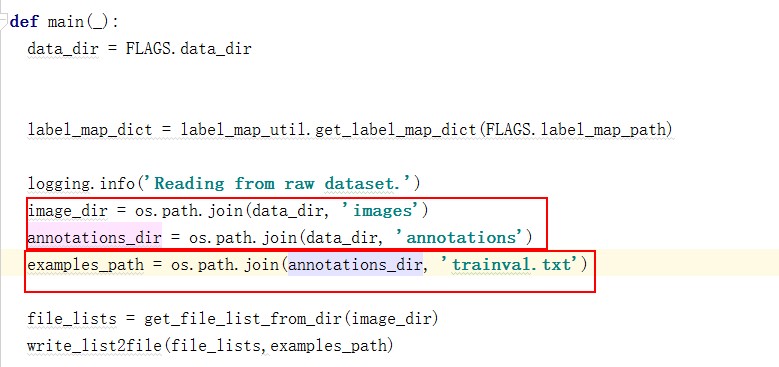
确保你的标注文件,图片目录对应的目录。标注文件目录下是否存在 trainval.txt文件是否存在,这个需要自己生成。我生成的列表(注意:没有带后缀)为:
执行完之后会在对应目录下生成 tf_record文件。
1.5 创建 .config 配置文件
目录tensorflow\models\object_detection\samples\configs下有各种配置文件,当前工程使用的是 faster_rcnn_inception_resnet_v2_robot.config,将其修改为适应当前数据的配置。
主要修改了这些参数:
- num_classes: 分类数目。视数据分类数目而定,当前数据集只有3个分类,修改为3
- fine_tune_checkpoint:此处应该为空白,之前修改成github上下载的faster_rcnn的ckpt文件会导致无法训练的情况。
- from_detection_checkpoint: 设置为true
- num_steps: 训练步数。如果数据集较小,可以修改为较小。
pets数据集包含7393张图片设置为20万次,当前数据集只有500张,设置为一万次应该差不多。可以在训练的时候查看loss增减情况来修改步数。
2 训练
训练时执行train.py即可。不过需要传入一些参数,可以使用官网的指定方式:
1 | python object_detection/train.py \ |
我在pycharm下运行,所以在Run->configigure里面加入参数即可。需要指定的参数是:
- pipeline_config_path:上面提到的
.config配置文件 - train_dir: 训练模型过程中保存的ckpt文件(tensorflow的权重文件)
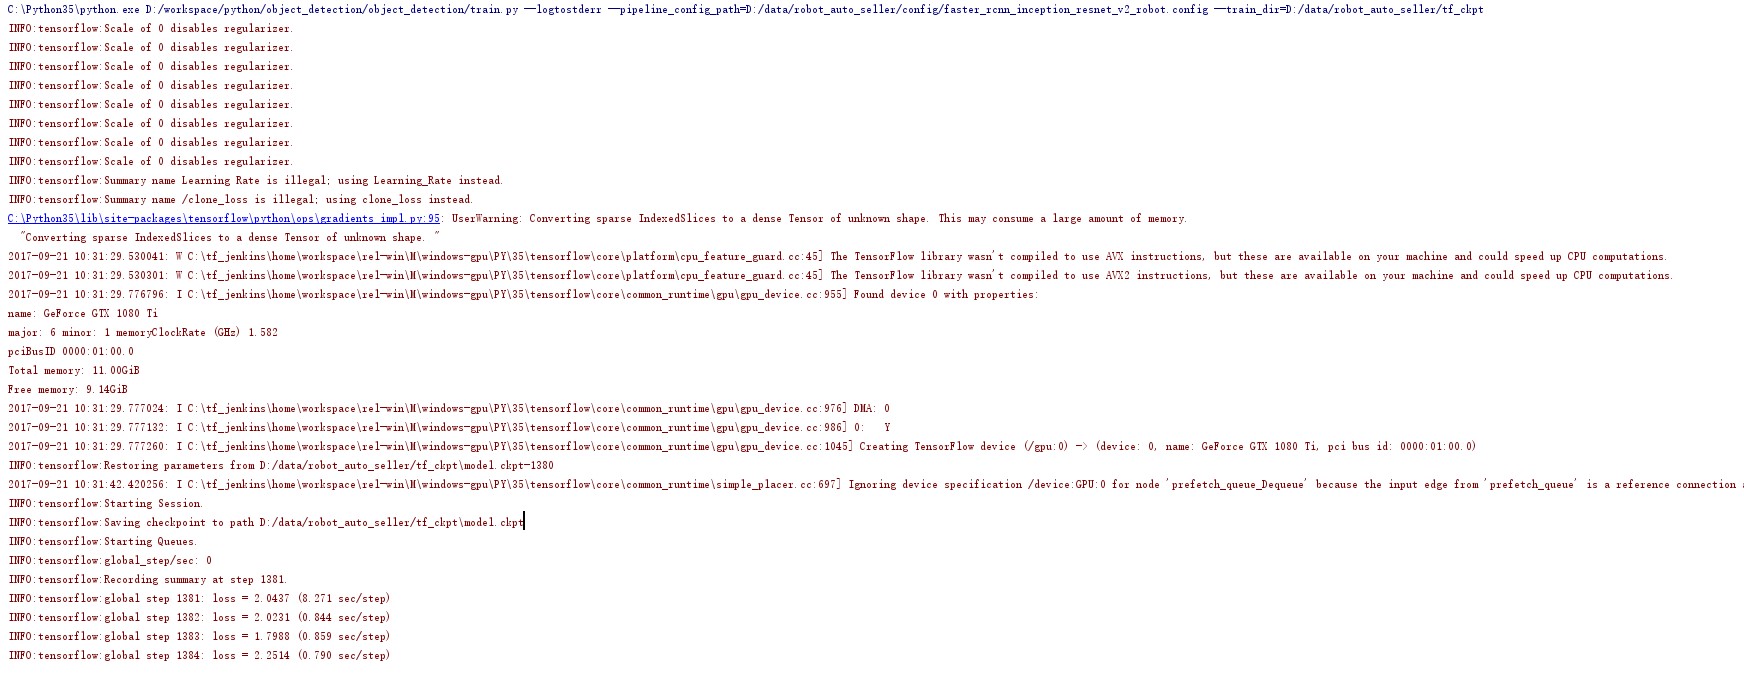
1 | --logtostderr --pipeline_config_path=D:/data/robot_auto_seller/config/faster_rcnn_inception_resnet_v2_robot.config --train_dir=D:/data/robot_auto_seller/tf_ckpt |
训练完成之后,大概的效果如下:
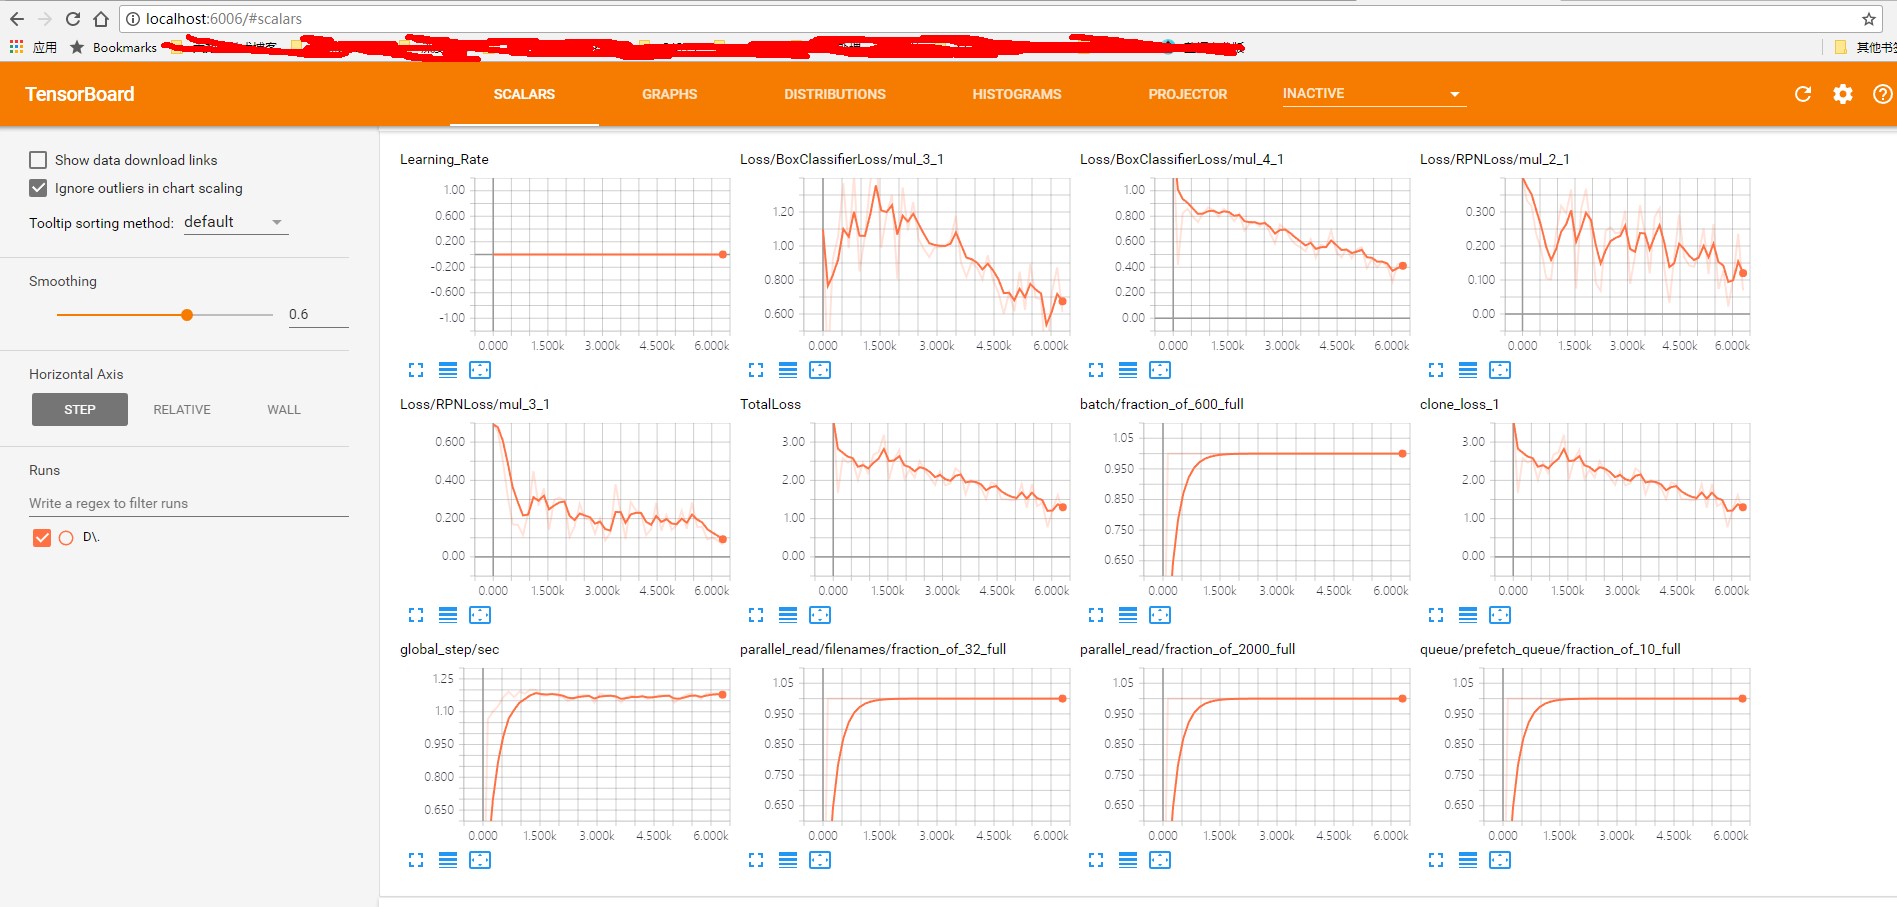
如果训练得当,应该可以用tensorboard查看训练参数变化:
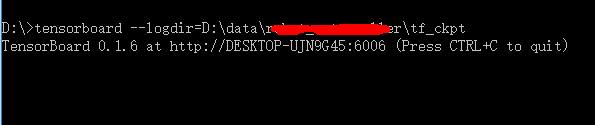
打开浏览器中的: http://localhost:6006/#scalars
3 转换权重文件
训练完成之后的权重文件大概是会包含如下文件:
- model.ckpt-${CHECKPOINT_NUMBER}.data-00000-of-00001,
- model.ckpt-${CHECKPOINT_NUMBER}.index
- model.ckpt-${CHECKPOINT_NUMBER}.meta
我生成的大概为:

这些文件无法直接使用,eval.py 所使用的权重文件是.pb。需要做一步转换,object_detection工程中已经包含了该工具export_inference_graph.py,运行指令为:
1 | python object_detection/export_inference_graph.py \ |
- pipeline_config_path :pipeline的配置路径,使用的是上面训练所使用的
.config文件 - trained_checkpoint_prefix :上一步保存tensorflow的权重文件ckpt的。精确到step数目,比如为
xxx/model.ckpt-8876 - output_directory :最终输出的可以用来做inference得文件(到具体文件名称)
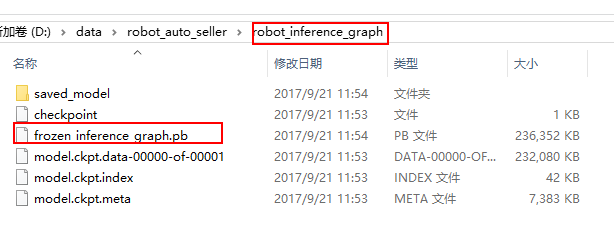
我的脚本为:
1 | --input_type image_tensor --pipeline_config_path D:/data/aa/config/faster_rcnn_inception_resnet_v2_robot.config --trained_checkpoint_prefix D:/data/aa/tf_ckpt/model.ckpt-6359 --output_directory D:/data/aa/robot_inference_graph |
生成的效果为:
4 预测
预测代码为:
1 | # coding: utf-8 |
此检测过程有两个版本。一个版本是开启摄像头检测,一个版本是直接检测图片。上面这部分代码是检测图片的。修改部分为
- PATH_TO_CKPT : 训练生成的
.pb权重文件(上一步转换之后的结果) - PATH_TO_LABELS :标签和分类(int)对应关系配置文件。第一步中设置的。
- NUM_CLASSES : 分类数。当前数据集是3个分类
- PATH_TO_TEST_IMAGES_DIR :需要检测的图片的路径。
TEST_IMAGE_PATHS : 需要检测的图片列表。
使用摄像头检测的例子放在附件中了。